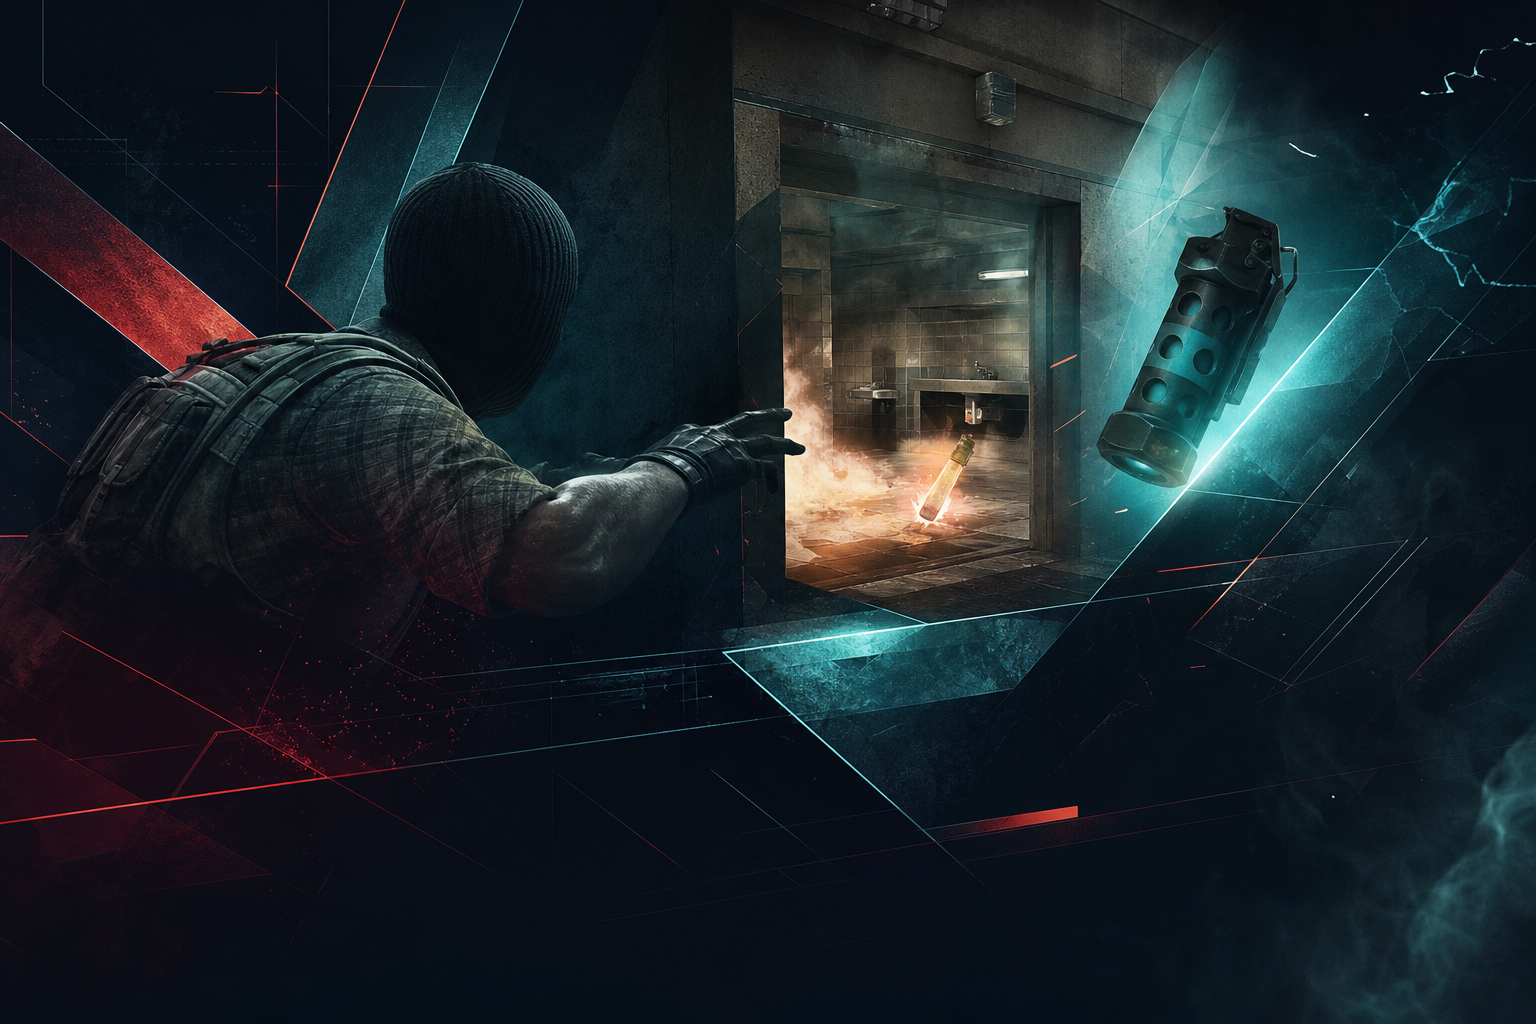
4 Ways Pros Clear Overpass Bathrooms Without Wasting Utility

Bathrooms on Overpass are one of those spots that look free until you get deleted by a guy tucked behind the sink with a flash still coming out of his hand. You burn a molly, toss a flash, maybe even dump a second piece of utility, and somehow the CTs still keep the space. That’s the problem: most teams waste nades because they clear Bathrooms like it’s a generic “smoke and swing” room, when the fight is actually a chain of tiny angles, timings, and sound cues.

If you want to play Overpass properly in CS2, Bathrooms isn’t about brute force. It’s about making the CT give up info for free, then taking the room with the least possible utility tax. On Source 2 with subtick, you can’t rely on sloppy old-school timing as much as you could in CS:GO. The peek is cleaner, the shoulder bait is meaner, and if you’re late by half a beat, a player like m0NESY will punish you before your flash even pops.

Why Bathrooms is such a pain

Bathrooms sits in that ugly middle ground between map control and a full site hit. On Overpass, it’s close enough to A that CTs can play aggressive and still fall back, but far enough from Terrorist spawn that your entry stack is usually half a second behind if your timings are lazy. That’s why teams from the Pro League and Major qualifiers keep treating it like a mini-map inside the map.

The real issue is that there are three common CT looks, and all of them can eat your utility if you’re careless:

  • the close-left jiggle from the bathroom entrance,
  • the deep line from the stall side or graffiti-adjacent angle,
  • the late peek from Party or Fountain support.

Waste two flashes on empty space and you’ve basically paid 800 dollars to hear “they’re not here” in voice chat.

1. Clear the first corner with a contact jump, not a panic flash

The cleanest way to take Bathrooms is often just two players moving up on contact, with one player shoulder-peeking the first threat and the second ready to trade. No hero utility. No “full send” stuff. Just pressure. If the CT in close-left is holding for a dry swing, a contact jump or a tight walk-up often forces the shot early, and once they fire, they’re usually dead if your trade spacing is right.

This works because CTs love overcommitting to the first duel in Bathrooms. They know T-side players panic and throw utility early, so they sit there waiting for the line of smoke or the flash pop. Don’t give them that. If you’re taking a round with an AK and a Deagle in the mix, saving a flash here means you still have one for the A-short conversion later.

One clean contact play can replace 2 flashes and a smoke if your spacing is tight. That’s massive in a round where the T side might be working with $3,000 to $3,500 each after a couple of rifle losses.

2. Use the molly only after you’ve made them move

A lot of teams throw the bathroom molly first and call it “protocol.” Honestly, that’s lazy. A molly only matters if it denies a real position, and CTs know how to read it. If they’re already in the back of Bathrooms or ready to swing from a deeper off-angle, a first-piece molly just tells them you’re coming and gives them a clean retreat to the next angle.

The better play is to make noise first. Take space. Show presence with a jiggle, a footstep, or a flash bait. Then use the molly to pin them when they’ve already decided where to fall back. That’s when a 6.5-second burn actually does work, because it traps the CT between staying and dying or moving and losing the duel timing.

What this looks like in a real round

Say you’re T side with an entry, a second man, and a lurk holding connector pressure. The entry walks up toilets side, the second player holds the trade, and the lurk keeps the CTs worried about monster timing or connector aggression. Once the CT in Bathrooms starts backing off, that’s your cue. Then you molly the deep corner and swing through the space they just abandoned.

That’s the trick. You’re not clearing a room. You’re stealing a decision.

3. Flash for the trade, not for the highlight clip

Every bad Overpass team has at least one guy who throws a god flash that nobody can use because he’s already turned his own team’s eyes into white noise. Good utility on Bathrooms is boring. It pops where your teammate expects it, not where it looks sick on a fragmovie.

Use a flash that lands around the top of the bathroom entrance or over the roof line so the CT gets the white screen exactly when your first man is about to swing. If the flash goes off too early, the CT unturns. Too late, and the site defender gets a free spray transfer. In CS2, where subtick makes movement and peeks feel more immediate, that timing window is even nastier than it used to be.

  • One flash for the first contact.
  • One second flash for the swing.
  • No third flash unless the CT is still stubbornly alive.

That’s usually enough. Two flashes and a molly is the whole kit if your team actually understands spacing. If you need four pieces just to enter Bathrooms, the issue isn’t utility efficiency — it’s your approach.

4. Dry-clear the ugly angles before you spend a smoke

Bathrooms has a habit of baiting players into over-smoking. You’ll see teams drop a smoke at the entrance, then wonder why a CT is still alive behind the stall side or playing a weird depth angle near the edge of the wall. The smoke doesn’t clear the room. It just cuts your vision and makes the retake look harder than it is.

Dry-clearing the ugly angles first is way smarter. Check the close left. Clear the stall-side depth. Make sure nobody is tucked in that stupid little pocket where half the server forgets to check because they’re already thinking about A site. Once those common spots are dead or pressured, the smoke actually becomes useful — either to isolate a rotator or to block a CT’s escape route toward Fountain.

This is the same kind of discipline you see from elite teams in big stage games. Watch how squads around a Major setup don’t just “take space”; they take information, then spend utility to lock the map down. That’s the difference between a team that can win a best-of-three and a stack of Faceit demons.

When to stop clearing and just hit the site

There’s a point where Bathrooms goes from “take control” to “you’re overfarming.” And Overpass punishes that hard. If you’ve already forced the CT back, heard the rotate, and got one flash and one molly still in hand, stop playing scared. Hit A. Split short. Crawl toilets. Whatever the round needs.

Players like ZywOo and donk don’t win fights by cleaning every corner like it’s a deathmatch warmup. They win because the team makes the next decision fast. One player pins Bathrooms, one player pressures short, and the CT has to guess whether the hit is coming now or five seconds from now. That uncertainty is the point. Not the extra grenade you were saving for some imaginary perfect exec.

Overpass Bathrooms should cost you a little, not everything. If you’re throwing three nades just to get in, your team is already behind in economy terms. In a round where a saved rifle can swing the next buy by $2,700, waste adds up fast.

The real question isn’t whether you can clear Bathrooms. It’s whether you can make the CTs spend first — and if you can’t do that on Overpass, what exactly are you saving all that utility for?
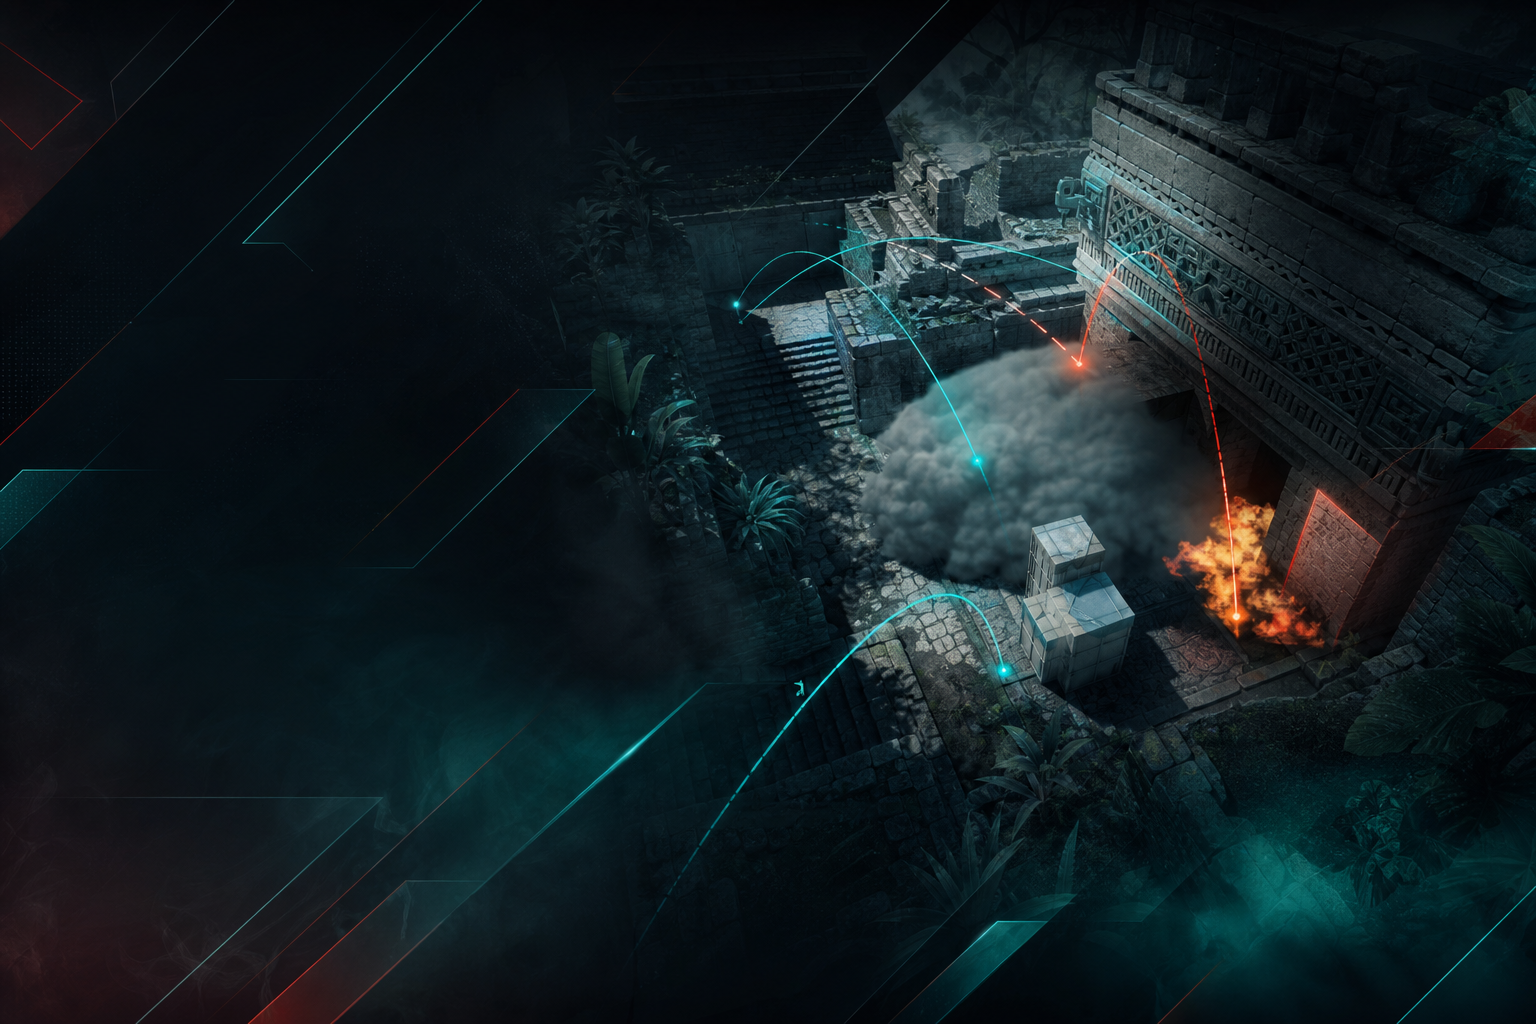
The Best Utility Pairings for B Site Hits on Ancient

You can feel a good Ancient B hit before the util even lands. The round goes quiet for half a second, then the CT side starts burning through smoke edges, HE damage ticks up, and suddenly your five-man swing through Cave and Donut looks a lot less like a rush and a lot more like a forced eviction. That’s Ancient when it’s played right: ugly, sharp, and brutally timing-based.

The best part? B site hits on Ancient aren’t some mystery reserved for donk or m0NESY when they’re farming 14-1 in a Premier stomp. The site is actually pretty repeatable if you pair the right pieces together. You don’t need six smokes and a prayer. You need utility that covers Cave, CT, and lane pressure while letting your first contact play off the chaos.

Why Ancient B is still a pain in the neck

B on Ancient is one of those sites that punishes lazy utility harder than most maps in the pool. The CT setup can lean on a defender in Cave, one in lane/Donut, and a rotator swinging from mid or CT side through timing. If your smokes are late by even a second, the whole hit starts feeling cramped. Source 2 subtick didn’t magically erase that either — the utility still needs real timing, because the exec is only as good as the moment your flashes pop and your first rifler swings.

The map’s geometry does half the work for the CTs. Cave is a nightmare if you leave it half-open. Donut can pinch from an angle that feels unfair until you’ve smoked it a hundred times. And if your team doesn’t split attention between main B and mid pressure, the defenders get to cheat rotations way too early.

The utility pairings that actually make B hits work

Good Ancient B hits are built around pairing pieces that solve two problems at once. One smoke should block a sightline and buy space. One flash should blind a known swing and also cover the entry path. One molotov should force the defender off the strongest anchor spot, not just make a pretty fire puddle.

Smoke + flash: the bread and butter

This is the cleanest pairing on the map. Throwing a smoke for Cave or CT is nice, sure, but it becomes nasty when the flash is timed to catch the defender peeking through the edges or trying to re-swing after the smoke blooms. A lot of Ancient B hits fall apart because teams smoke and then wait like they’re asking permission. Don’t do that. Pop the flash as the smoke lands, and force the anchor to guess.

My favorite version is the simple Cave smoke plus a high flash from main B. It gives your first two players room to take site space without getting shredded by the close angle. If the CT has a molotov for your push, this pairing still works because the flash denies the re-peek after the fire fades.

Molotov + flash: punish the anchor, then punish him again

This pairing is nastier than it gets credit for. A molotov on Cave or default B site doesn’t just clear space — it tells the CT player exactly where not to stand. Then the flash forces him to move while he’s already boxed in. That’s the whole trick. You’re not trying to kill him with utility; you’re making him choose the wrong position before the duel even starts.

If your team has a player with good timing, let him swing off the flash the second the molotov starts doing real damage. On a lot of Ancient rounds, that’s the difference between taking site cleanly and getting stalled for 12 seconds while the CTs stack rotations through Donut.

Double smoke setups are better than they sound

People love to talk like Ancient is a one-smoke map. It isn’t. The best B hits usually use at least two pieces of smoke coverage: one for Cave, one for CT or Donut depending on your pathing. The reason this works is simple — one smoke cuts off vision, the other cuts off punishment. Leave either lane open and the CTs can spam, swing, or fall back with info.

  • Cave smoke to block the anchor’s first fight.
  • CT smoke to stop the rotator from taking the clean retake angle.
  • Donut smoke if you’re hitting through mid and want to kill the pinch.
  • Flash over roofline to force any close contact off the angle.

That last one matters more than people admit. Ancient flashes that go too low are basically free assists for the CT side because they can look away, hug cover, and wait for the pop to fade. A real high flash over B main or mid entrance is what makes the smoke pair matter.

The cleanest B execs depend on where you’re coming from

Not every B hit on Ancient should look the same. If you’re coming from main, your utility is about breaking the front line. If you’re splitting from mid, you’re trying to stretch the defense until the site feels underdefended. That’s a different problem, and bad teams mix those up all the time.

Main B hits: fast, loud, mean

When you’re running straight main B, the strongest pairings are Cave smoke plus pop flash, then a molotov for default or the back of site. That lets your first guy challenge the space while the second player clears close right and ruins any CT who’s hiding to trade. This is the kind of round where timing is everything. A half-second gap and the defender gets a free multi-kill. Tight timing and the anchor has to either fall back or die.

On a 64-tick server — which is what you’re usually dealing with in Premier anyway — people still underestimate how clean a basic smoke-flash combo can be when it’s thrown with purpose. Source 2 subtick helped with feel, but it didn’t suddenly make sloppy team play good. You still need people lined up and ready to move.

Mid-to-B splits: annoying in the best way

These are my favorite Ancient hits because they make CTs miserable. If one player or pair threatens Donut while the rest of the team pressures B main, the CTs have to split their util. That’s when the pairing changes: a Donut smoke plus a B main flash, or a B main smoke paired with a late molotov for lane. The goal is to deny the crossfire, not just enter the site.

This is also the kind of structure that shows up when pro teams are really in control of the map. You’ll see squads at majors — especially when teams like FaZe or Vitality are dictating pace — use the threat of a split to force a bad defender decision before the actual hit even starts. It’s not flashy, but it wins rounds. Same reason teams with players like ZywOo or donk look so brutal on Ancient: they’re not just taking aim fights, they’re taking the right fights after the defense has already been bent out of shape.

The pairings I trust most, round after round

If I had to trim Ancient B utility down to the stuff I’d actually want in a scrim or a Premier grind, it’d be these pairings:

  • Cave smoke + high flash — best default hit starter.
  • CT smoke + site molly — clean for stopping the retake timing.
  • Donut smoke + B main flash — great for splits, annoying for CT comms.
  • Cave molly + pop flash — brutal on anchors who like to play close and greedy.

Two small things matter here more than people want to admit. First, don’t stack all your utility at the choke point and then dry peek anyway. That’s Bronze-level CS dressed up as strategy. Second, call the timing clearly. If your flash pops early and your entry is still tucked behind the smoke, the defense gets a free reset and your whole exec turns into an expensive noise complaint.

What good Ancient teams do that average ones don’t

The good teams don’t just throw utility. They chain it. One piece creates movement, the next punishes the movement, and the third stops the CTs from re-taking the space they just lost. That’s why Ancient B hits feel oppressive when they’re done well — it’s not raw volume, it’s the order.

When I watch the best teams play this map, I’m always looking at the same thing: are they using util to force a decision, or just to make the minimap look busy? Big difference. A team that’s actually in sync will pair smoke and flash to isolate Cave, then use a molotov to cut off the only good recover angle. A messy team throws three grenades and still has to win a fair gunfight. That’s how you lose rounds you should’ve owned for free at 5,500 cash in a comfortable buy.

Ancient B doesn’t need fancy theory. It needs pairings that do two jobs at once and a team that isn’t allergic to timing. If your utility isn’t buying space, killing pressure, or forcing a terrible retake, what exactly is it doing?

Mirage Connector Fights: The Small Angles Pros Abuse Every Time

The fastest way to lose Mirage connector isn’t getting out-aimed. It’s showing too much shoulder, wide-swinging like you’re hosting a deathmatch lobby, and giving the CTs a free pre-aim. Pros don’t play connector like some heroic hallway duel — they play it like a tiny geometry problem, and they keep solving it with the same ugly little angles every single half.

That’s why connector fights are so annoying to face. One round you think you’ve cleared it, next round a rifler is tucked under the catwalk lip, a second player is jiggle-peeking from triple, and suddenly your whole A split dies because you looked at the wrong 20 pixels of the map. Mirage is built for this kind of nonsense, and good teams abuse it constantly.

Why connector is the weirdest fight on Mirage

Connector looks simple on the minimap. It’s just the link between mid, jungle, and A, right? Yeah, and Dust2 is just a desert with doors. Connector matters because it lets CTs split information and force T-side mid control into a miserable coin flip. If you lose connector early, your A hit gets pinched, your mid lurk gets cut off, and your smokes start feeling one step behind the round.

The real trick is that connector has multiple micro-angles layered on top of each other. You’re not clearing “connector.” You’re clearing the left edge of the stairs, the bench side of the opener, the underpass exit timing, the jungle peek, and the possibility that somebody’s holding a stupid off-angle with a flash ready behind him. On CS2’s subtick system, the difference between a clean swing and a dead body can be a single bad rhythm in your movement. You think you’re first. The game says no.

The small angles pros keep farming

Pros don’t need miracle aim here. They need patience, spacing, and enough disrespect to take fights one pixel at a time. Watch how teams like FaZe or Vitality approach connector control on Mirage: nobody is sprinting in blind unless they’ve already forced rotations or burned utility. The angle abuse is deliberate.

  • Short edge hold. CTs hug the connector wall and expose only a sliver to mid.
  • Stairs crouch. Not glamorous, but it catches the over-clear every time.
  • Jungle crossfire. One player shows, the other deletes the trade.
  • Under-connector punish. If T-side gets greedy, this one ends the round fast.
  • Flash-and-repeek. The classic. Still disgusting. Still works.

The nasty part is how often these fights happen with rifles that cost $3,100 or less. A CT with a $2,700 FAMAS or a $2,050 MP9 can absolutely ruin a T-side AK if the angle is tight enough and the utility is timed right. That’s not theory; that’s eco math. One connector kill can swing a round where the Terrorists were already working with $2,400 buys and praying for a clean plant.

How pros actually take the space

Most players try to “clear” connector by leaning into it with a full strafe and a prayer. Pros treat it like a sequence. First, they steal the right info. Then they force the defender to move. Then they take the angle that was empty three seconds ago and shoot the guy who thought he was clever.

Look at how donk plays pressure on maps like Mirage and Ancient — the pace isn’t random, it’s violent timing. He’ll use that half-step to bait a jiggle, then burst with a perfect counter-strafe the instant the CT repositions. m0NESY does the same thing from a different angle, and the scariest part is how little room he needs to get a shot off. Connector rewards players who understand timing windows more than raw rushing. If you’re off by even 0.2 seconds, the defender gets to hold the angle for free.

That’s where subtick gets interesting. People love to argue about whether it feels “off” or “better,” but in connector the practical reality is simple: your movement timing matters more than ever. If your shoulder peek is sloppy, the defender sees you. If your counter-strafe is late, your AK spray starts moving before the crosshair does. Mirage does not forgive that stuff.

Utility that makes the angle abuse disgusting

Connector fights get nasty when utility isn’t just thrown, but layered properly. A single smoke can block vision, sure. Good teams want more than that — they want to erase the defender’s comfort, then force a bad re-peek through a bad gap. This is the kind of stuff you see at Majors when teams actually have structure and nobody’s freelancing like it’s Premier 4k rating.

On Mirage, the useful pieces are obvious, but the order matters more than the lineup clipboard nonsense people obsess over:

  • Mid smoke to cut off the first contact.
  • Jungle smoke if you’re splitting A.
  • Window pressure so connector can’t sit still.
  • Pop flash from top mid or cat for the actual swing.

A good connector take often starts with a 2-1-2 split in player positions, then compresses into a quick burst once the CTs reveal their setup. If the CT side is down to one rifle, one SMG, and a desperate half-buy, they usually can’t defend both jungle and connector cleanly. That’s when the angle abuse goes from “smart” to “mean.”

Why bad Mirage teams keep dying there

The worst part is that people know connector is dangerous and still walk into it like it’s a ladder server. They spam one smoke, dry peek the edge, and then blame “peekers’ advantage” after getting one-tapped. Nah. You lost because you gave a defender the exact fight he wanted: stationary crosshair, clean timing, and no pressure anywhere else.

Bad teams also overvalue A site presence and undervalue connector denial. You see this in Premier all the time — a stack of players hovering around palace and ramp while mid stays soft, and then the whole round collapses because a CT lurk from connector splits the retake angle. Mirage punishes passive teams hard. If you don’t make connector expensive, someone like ZywOo-level discipline from a rifler or a sniper will just keep farming your space until the scoreboard gets embarrassing.

And no, this isn’t about “being more aggressive.” Aggression without shape is just noise. The best connector pressure has a rhythm:

  • force the first shoulder
  • take away the re-peek
  • punish the rotation

That sequence is why pro Mirage looks so clean. The camera pans, the smoke blooms, one player jiggles, another swings, and suddenly the CTs are dead in a corridor that looked tiny on the map and somehow even tinier in the server.

What you should copy the next time you queue Mirage

If you’re T-side, stop treating connector like a solo highlight spot. Use it to make the CT side choose between mid and A. If you’re CT-side, stop dry-holding the same obvious line every round. Shift 20 centimeters, change the timing, and make the Ts clear a second angle they didn’t want to check.

That tiny adjustment is the whole game here. Mirage connector isn’t won by the guy with the best crosshair placement alone — it’s won by the player who understands which pixel they can safely show and when to show it. Pros abuse those small angles every match because they know the map is built on them. You should be, too.

So next time you’re on Mirage and someone says “just hold connector,” ask yourself: which angle, exactly? Because that’s the part everybody dies to.