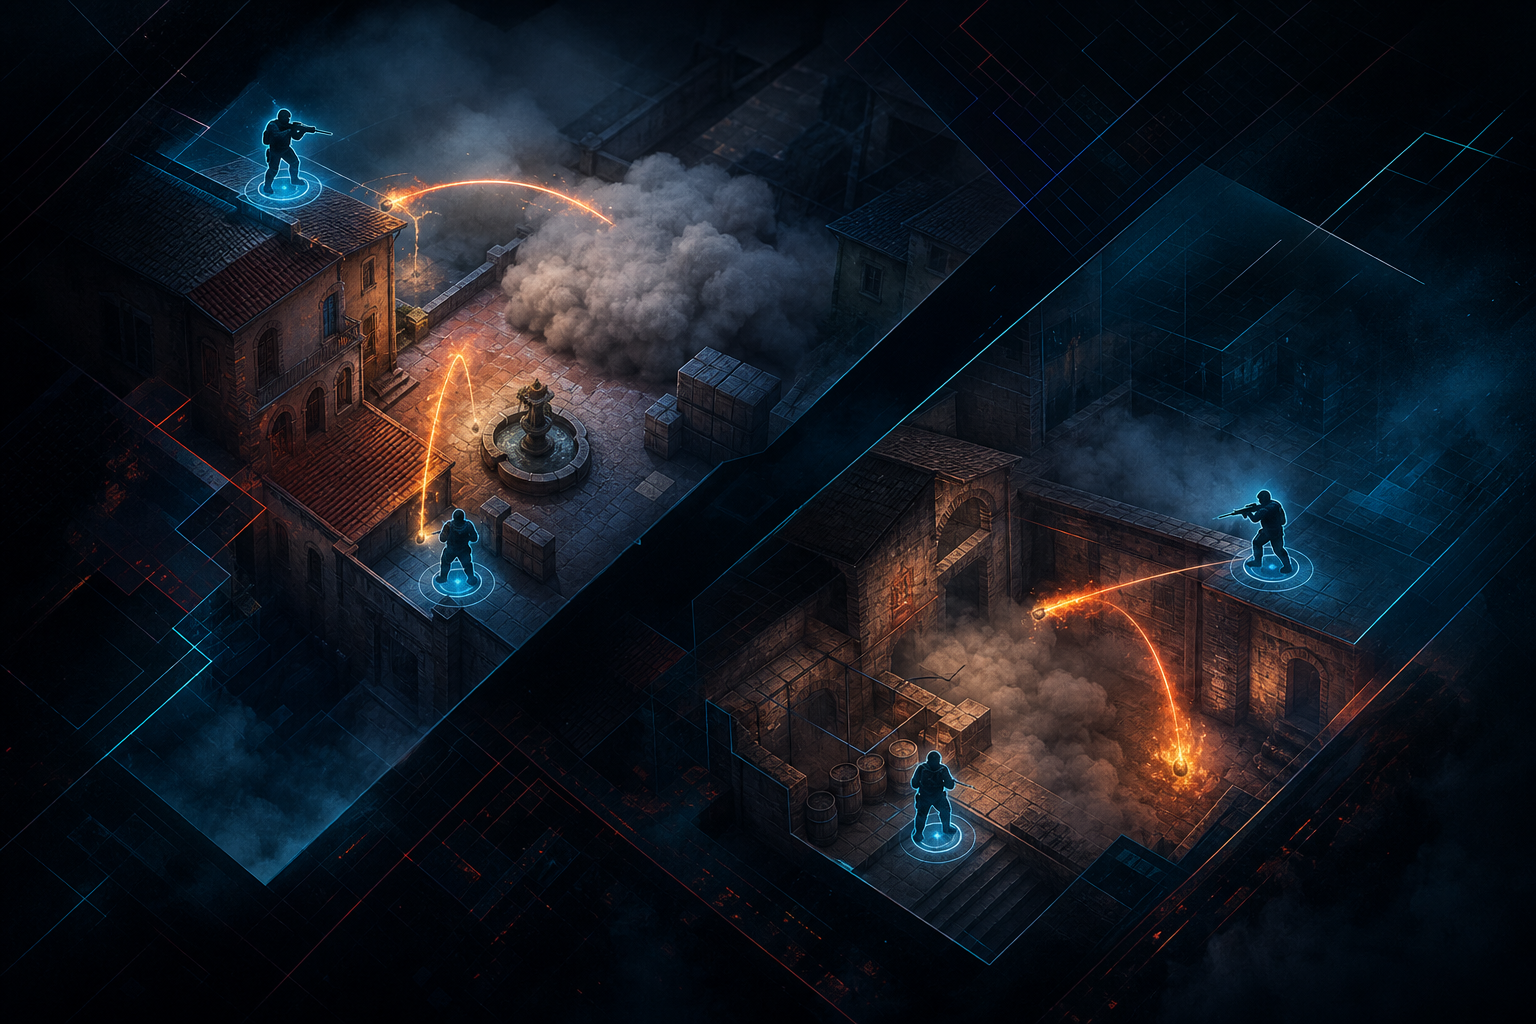
Best CT Anchor Spots on Inferno, Ranked by Survival Rate

You know the feeling: you’re the last guy on B, the clock’s at 0:42, and the T side has just decided your life is now a 5-man execute with utility stacking Banana, Second Mid, and Arch. On Inferno, some CT anchor spots let you live long enough to actually matter. Others are just expensive suicide booths.

If we’re ranking CT anchor positions by survival rate, we’re not talking about “best for highlight reels.” We’re talking about the spots where you can eat the first flash, burn 3-4 seconds off the exec, get traded less often, and still have a real chance to fall back or re-peek with a teammate. In CS2, with subtick making peeks feel cleaner but not kinder, the anchors who survive are the ones who position like they’ve already seen the round go wrong.

The spots that keep you alive when Inferno gets ugly

Inferno is brutal because both bombsites have natural pinch points. Banana is a meat grinder, A site gets hit from Arch and Balcony at the same time, and the map punishes anyone who plays “one-and-done” without a clear escape route. The highest-survival anchor spots all have one thing in common: they force the T side to spend extra utility or time just to clear you.

1) B site Coffin side, tucked and stubborn

This is the king spot if you want to live. Coffin-side B anchor isn’t flashy, but it’s filthy. You can swing on the second piece of utility, hide from some of the nastiest post-plant lineups, and you’re close enough to trade off your teammate on site or New Box. In a lot of Premier games, especially around 10k-18k CS Rating where teams still half-execute like it’s 2016, T sides forget to molotov this properly and just run into a crossfire.

Why it survives so well:

  • Hard to clear cleanly without a deep Banana exec.
  • Easy to fall back to CT spawn or construction.
  • Smokes and flashes often miss the exact angle if thrown in a panic.
  • You can survive even after firing first, which is rare for an anchor spot.

If you’re the guy playing this spot, don’t be greedy. One kill, maybe two if they fumble. Then live. That’s the whole job.

2) A site Default pit, but only if you’re patient

People love dying in Pit because they think they’re ZywOo or donk and can just raw aim their way out. You can’t. Not every round. Still, Pit is one of the better survival spots on Inferno A because it gives you two huge things: cover from Moto and Library pressure, and a decent chance to duck back after the first contact. Against a standard Banana-to-A hit, Pit often survives longer than Balcony or Moto because you’re not the first contact point.

The trick is timing. If you swing too early, you’re dead. If you let the T side burn through a flash, a molotov, and the first contact from Arch, you’ve got a real shot to stay alive until rotation. That’s the difference between a good anchor and a highlight clip.

3) Boiler room edge, the annoying little rat spot

Boiler gets underrated because it feels passive, but that’s exactly why it works. The survival rate is high when you use it as a delay spot, not a dueling position. You can hear Apartments pressure, see the first body cross, and either bait utility or retreat into site. On Source 2 Inferno, players have gotten better at checking this, sure, but most teams still don’t clear it with the same discipline they use for Balc or Pit.

Boiler works best when your team is set up to rotate fast. If your A rotator is already close by and you’ve got a player in Arch, you can survive long enough to make the T hit feel messy. That’s the real value: not just living, but living while they waste 2-3 pieces of utility trying to evict you.

4) New Box on B, strong until the molotov lands

New Box is weird. It can feel amazing, then the next round you get molotoved off your feet and wonder why you ever stood there. Survival-wise, though, it’s still one of the better B anchor spots because it offers cover, jump potential, and a way to stall Banana without being fully exposed. When the round starts slow, New Box can eat so much time that the T side has to decide whether they’re going all-in B or faking themselves into a bad late-round.

The weakness is obvious: good teams clear it. On a higher level, especially in scrims or at tournament pace like you’d see in a Major qualifier, New Box gets targeted the second the CTs show a standard Banana setup. Still, if you’ve got good utility timing and a teammate ready to swing Logs or Coffins, it’s one of the better survival anchors on the map.

Where you die less, and why that matters

Most Inferno anchors don’t lose rounds because they got outaimed. They lose because they picked a spot with no exit and got isolated. Survival rate isn’t just some lazy stat; it’s a proxy for how long your position keeps the defense functional. A dead anchor on Inferno usually means the site collapses a few seconds later. That’s the real punishment.

Here’s the rough pecking order if you’re trying to stay alive first and frag second:

  • Coffin-side B — highest survival, lowest ego required.
  • Pit on A — strong if you don’t overpeek.
  • Boiler edge — annoying, slippery, and great for delaying.
  • New Box B — solid, but utility-dependent.
  • Moto — good in theory, but you’re praying they don’t clear it with two flashes and a molly.

Moto is the classic trap. Everyone thinks it’s safe because it’s “on site,” but once the exec comes in clean, you’re boxed into a fight you probably don’t win unless your teammates swing perfectly. Same story with Sandbags on Banana — high reward, low survival if the T side isn’t clueless.

The spots that look good until a real team shows up

This is where people get themselves killed. They copy a clip from a pro match, plant themselves in the same angle, and then wonder why a random 15k Premier stack clears them in five seconds. The best example is Arch side on A. It can be useful, sure, but as an anchor spot it’s less about survival and more about making the site take weird shapes. If you’re alone, you’re toast against a coordinated hit from Top Mid and Short.

Same thing with Half Wall on B. Fun spot. Terrible survival rate if Banana control is lost. You’ll get spammed, mollied, or double-peeked off the map by round 3 if the T side has any idea what they’re doing. Inferno punishes stubbornness harder than almost any map in the pool, and that’s why you see pros like m0NESY or s1mple look so insane on it — they don’t just aim, they leave before the trap closes.

How to anchor Inferno like you actually want to win rounds

Playing for survival doesn’t mean playing scared. Big difference. You’re still taking space, still fighting for info, still burning utility, but you’re choosing spots where a single smoke or molotov doesn’t end your round instantly. If your CT side is saving 5-man retakes every round, your anchor spots are probably garbage.

What helps most:

  • Delay first, fight second. Use your smoke, then fall back.
  • Play with a flash in mind. If your teammate can pop you, the spot gets way better.
  • Don’t stand still after contact. Reposition after the first shot, every time.
  • Keep an exit route. New Box to CT. Pit to Library. Coffins to Construction. That kind of thing.

CS2’s subtick system made peeks feel cleaner, but it didn’t magically fix bad positioning. If anything, it made some of the old bad habits more punishable because clean swings and utility timing hit harder. Inferno rewards the CTs who understand that living for 6 more seconds can be worth more than the kill itself.

So if you’re anchoring Inferno and you keep dying first, maybe stop trying to be the hero. Which spot are you actually playing to survive — and which one are you just using because it looks cool on Twitch?
How to Hold Banana on Inferno When Your Team Gives It Up

You know the round. Your AWP dies mid, the banana flash is late, and suddenly three T’s are walking up second with a molotov ready to bully CT spawn. On Inferno, that’s usually where weaker teams just hand over Banana and pray. Bad idea. If you give Banana away for free, you’re basically letting T side set the round timer for you.

Holding Banana when your team has already ceded it isn’t about heroing a dry peek with a MAC-10. It’s about making the T’s pay every single time they want to leave T roof, and buying enough time that your rotator can play CT spawn, moto, or library without getting smoked off the map. In CS2, with subtick and those weirdly clean first-bullet duels, bad Banana control gets punished fast. The good news? You can still make Inferno miserable for them.

Why Banana matters more than your ego

Banana is the longest, ugliest choke on Inferno, and that’s exactly why teams fight over it so hard. Control there isn’t just about a few inches of map space — it’s about forcing utility, stealing seconds off the clock, and deciding whether the T’s can go B at all. If they own Banana cleanly, your B site is on a timer, and everybody on CT has to react to them.

When your team gives it up, your job changes. You’re not trying to win Banana back in one dry swing like some MM warrior with a 0.9 Premier and a rage issue. You’re trying to make the lane expensive. A single HE, a molotov, and a well-timed flash can turn their standard banana take into a 2,000-dollar tax bill before the round even starts to breathe.

What to buy when the round’s already ugly

This is where a lot of players throw the round away. They force a hero play with a Deagle and no utility, then wonder why donk would farm them for 18 rounds straight. If you’re going to hold Banana after your team loses it, your buy has to match the job.

  • 1 smoke + 1 flash is the bare minimum if you’re anchor side and expecting pressure.
  • HE grenade is huge. Banana stacks take damage fast, especially when they line up behind the sandbags wall or second coffin path.
  • Incendiary if you’re CT and the round matters. $600 hurts, but losing B hurts more.
  • MP9 / M4A1-S depending on the round. The MP9 is nasty for close fights near logs and car; the M4A1-S gives you cleaner multi-kill potential if they pop flash through the lane.

And yeah, economy matters. If your team is on a half-buy with around $2,900 per player, don’t pretend you’re running a full B retake setup. Just get enough to stall. One smoke deep Banana can buy 8-10 seconds if they respect it, which is basically forever in a 1:55 round where every second counts.

Where to stand so you don’t get deleted

Holding Banana from CT spawn after you’ve lost map control means you need angles that let you stay alive long enough to use utility. Dying in the first three seconds because you wide-swung top banana with no flash is the kind of thing that gets you kicked from a five-stack.

Your best spots depend on the round, but these are the ones I keep coming back to:

  • Car. Classic for a reason. Good cover, strong off-angle, and you can fall back toward site without getting trapped.
  • CT spawn edge. Great if you’re waiting to smoke deep banana or flash a teammate retake side.
  • New box. Riskier, but if they don’t clear it properly you can snag a free kill and disappear.
  • Coffins peek. Use it sparingly. One-shot hero plays here are fine; repeated peeks are how you get pre-aimed by every decent T rifler in Premier.

The trick is to never be the static guy they farm. Shift a little. Jiggle. Shoulder. Make them think there’s two of you. The second they spend utility on a fake presence, you’ve already won something, even if Banana is still technically theirs.

Utility that actually works when the round gets messy

This is the part people mess up the most. They know the lineups, but they don’t know the timing. A smoke thrown too early gets melted by spam or fades before the hit. A flash thrown too late just blinds nobody.

The timing that matters

On CS2’s subtick system, your input timing feels tighter than old CS:GO, but the smoke still needs to cover the same problem: stop the first contact and break the T rhythm. If you’re anchoring B, your utility should be layered, not dumped all at once.

  • Throw a deep molotov when they start taking second. That delays the walk-up and often forces awkward spacing.
  • Hold your HE until you hear the burst. Don’t waste it on noise.
  • Flash over CT roof or from site as soon as they commit to top banana contact. That’s your cue to fight, not before.
  • Smoke the choke if your teammate is rotating and you need 5-7 seconds to stabilize.

There’s a reason pro teams at Majors still obsess over Banana control on Inferno. Watch an IEM Katowice or BLAST Premier series and you’ll see it: the best teams don’t just “take Banana,” they make it expensive, then re-take it on their terms. ZywOo and m0NESY don’t need a miracle here — they need one clean flash and a teammate ready to trade. Same thing for you, just with a little less aim and a lot more panic.

How to keep them guessing after you’ve lost it

If Banana is gone, the round isn’t over. Not even close. You can still keep T side uncomfortable by refusing to let them know if B is weak, stacked, or setting up a fake into mid.

That means mixing up your reactions. Sometimes you show presence at coffins and let them hear steps. Sometimes you spam top banana through smoke to make them think you have a teammate tucked deep. Sometimes you do the boring but correct thing: stay alive, save utility, and rotate late so they can’t read your stack.

The biggest mistake is over-rotating because you feel behind. If one guy hears footsteps at top banana and instantly screams for four bodies, congrats — you just opened A for free. Keep one player committed, keep one flexible, and make the T’s spend the round proving they’re really coming B.

The mental game: don’t let them bully you twice

Inferno is a map of habits. Teams repeat what works until you punish it. If the T side gets one clean Banana take, they’ll try it again. If they get three clean takes, now they own the match flow, and you’re the one chasing.

That’s why holding Banana after your team gives it up is less about highlights and more about spite, honestly. Not toxic spite — disciplined spite. Make them clear car. Make them clear close left. Make them waste a molly on logs. Make that rifle round cost them $650 in utility before they even see your crosshair.

If you’re on the back foot, the best Banana defense usually looks boring from the outside and awful from the T side. A stall smoke, a late flash, one HE into the choke, then a live player who doesn’t peek until the T’s have already burned half their clock. That’s how you flip a round that felt dead two seconds earlier.

Banana on Inferno isn’t held by confidence. It’s held by discipline, timing, and being annoying enough that the other team starts hesitating. So next time your squad gives it up, ask yourself one thing: are you going to fight for control, or let them run the round from second oranges like it’s a deathmatch lobby?

M4A1-S or M4A4 on CT Side: A Brutal Buy Decision

You spawn CT on Mirage with $3,200, your team’s economy is a mess, and suddenly the boring little rifle choice becomes the whole round. M4A1-S or M4A4? That’s not just a gun preference. That’s your impact, your spray control, your reload timing, and whether you’re the guy who holds A ramp for 12 seconds or the one who whiffs the last three bullets and blames subtick.

The buy decision is way bigger than price

The old argument used to be simple: the A1-S costs less, so if your team is scraping together a buy, grab the quieter rifle and move on. That logic still matters, but CS2 made the decision feel more annoying because the game’s pace is faster, utility fights are uglier, and a single missed multi-kill can swing a half. The M4A1-S sits at $2,900. The M4A4 is $3,100. That $200 gap looks tiny until you’re on a half-buy with a flash and a smoke, staring at whether you can still drop an MP9 for a teammate next round.

On paper, both rifles do the job. In practice, they punish different kinds of mistakes. The A1-S gives you a cleaner first kill and easier tap-burst control. The A4 gives you more bullets, more room for error, and a lot less of that awful feeling when you stop spraying at 20 bullets and the round is somehow still going. If you’re playing Premier at 16k CS Rating and above, those tiny differences start deciding rounds because everyone shoots back.

M4A1-S: the quiet gun for disciplined CTs

The M4A1-S has always been the “I know exactly where I’m holding” rifle. It’s the gun for the Anchor Andy who lives in CT, benches, or connector and wants to win the duel before the enemy even realizes they’ve swung. The silencer matters more than people admit. Not because it’s magical, but because your shots are harder to track through the chaos, especially in stacked fights where one smoke pop and a flash turn the site into a spreadsheet of bad decisions.

Its biggest strength is still control. Short bursts feel stupidly reliable, and in CS2’s subtick era you can punish dry peeks fast if your crosshair placement is clean. On maps like Nuke, Ancient, and Overpass, the A1-S is brutally efficient. Holding hut from rafters, lane on Ancient, or monster from bank? Yeah, the A1-S is fine there. More than fine. It’s lethal.

Here’s the catch: the A1-S can feel like a trap if your style is aggressive or if your team keeps forcing you into multi-frag retakes. Twenty bullets in the mag sounds okay until you’re clearing default, triple, and ticket in one live round and the last T is still tucked somewhere you forgot to check. Then you’re reloading like a bot while your teammate dies on site.

Pick the A1-S when you want these things

  • Clean first-bullet accuracy.
  • Lower price, easier team buys.
  • Quiet holds on maps like Mirage CT, Nuke ramp, and Ancient cave.
  • Less spray chaos, more disciplined tapping.

M4A4: the better rifle if you actually fight

The M4A4 is the better gun for players who expect messy rounds. Not perfect rounds. Messy ones. The kind where a T side executes B on Inferno with two flashes, a molly, and a body floating through smoke, and now you need to kill three people in four seconds while your IGL screams for a rotator. That’s where the A4 feels like cheating. Thirty bullets buys time, and time in CS2 is everything.

People love to pretend the A4 is just “harder to control.” That’s lazy. It’s different. The spray has more ammo, more sustain, and more forgiveness when a second target swings off the first contact. If you’re the guy playing close on Vertigo B, headshot on Dust2, or top site on Inferno, the A4 lets you continue spraying through the nonsense instead of praying the mag lasts. It also pairs better with players who like to take space on CT, which is why you still see lots of aggressive M4A4 usage in pro demos when the round plan is ugly and reaction-based.

And yes, the extra 200 bucks matters. But if you’re saving your economy by choosing a weaker rifle and then losing a duel because you ran dry, congratulations, you saved money for the enemy. That’s not a smart buy. That’s a self-own with a line item.

How the pros actually treat the split

The pro scene has never treated this like a one-size-fits-all debate, and that’s the whole point. ZywOo has long been comfortable swapping depending on role and map pressure, while donk is the kind of player who makes either rifle look unfair because his aim wins fights before the gun choice even matters. s1mple’s old highlight reels made the A1-S feel like a laser pointer, but the current CS2 meta is more about what the round demands than whatever one superstar prefers on stream.

Look at how teams approach Major-level rounds. In an IEM Katowice or a Major playoffs map, CTs don’t just buy a rifle because it feels nice. They buy for retake utility, for round preservation, for who’s anchoring which bombsite, and for whether the team can still afford a full set of kits. The M4A1-S often shows up when money is tight and the plan is to hold, stall, and survive. The M4A4 shows up when a team expects contact-heavy defaults and wants the extra ammo for trading.

That’s the real separator: the A1-S is a specialist rifle. The A4 is the general-purpose problem solver.

Map-by-map, the answer changes fast

This is where people get lazy. They talk about M4s like the map doesn’t matter. It matters a lot. On Mirage, if you’re anchored in ticket, jungle, or connector, the A1-S is fantastic because the fights are usually about clean first shots. On Inferno, especially B site or arch-side holds, the A4 can be the better pick because banana and site executes are absolute spam-fests. Ancient is another map where the A1-S feels incredible in tight angles, but if you’re the guy rotating through donut or fighting cave execs, the A4’s magazine gives you breathing room.

Then there’s Nuke, where this choice gets stupidly role-dependent. Ramp players love the A1-S for the quiet hold and easy taps, while outside rotators and aggressive lobby players often prefer the A4 because they’re constantly dealing with weird timings and multiple enemies. Anubis is similar in a different way: if your team is fighting through layered utility, the extra bullets on the A4 are worth more than the silencer’s neatness.

One thing that’s been true since the Source 2 switch: the subtick system hasn’t changed the basic reality that spray control still decides half these fights. A rifle that gives you more attempts in one mag is still valuable, even if the game is cleaner than the old 64-tick/128-tick arguments people used to yell about like it was religion.

So which one should you buy?

If you’re a defensive anchor, a tap-heavy player, or someone who hates wasting money on rounds where your team’s economy is already shaky, the M4A1-S is still disgusting value at $2,900. It’s probably the smarter buy more often than not. That’s the annoying truth. The gun is efficient, quiet, and amazing in the hands of players who don’t try to force hero sprays every round.

If you’re an active rotator, a site anchor who fights multiple enemies often, or you just trust yourself more with a 30-round mag, the M4A4 is the better rifle. Full stop. In modern CS2, with utility stacking, fast hit timings, and more chaotic post-plants than ever, the A4 saves rounds the A1-S can’t.

If you want the blunt version, here it is:

  • Choose A1-S for economy and clean holds.
  • Choose A4 for chaos and multi-kill insurance.
  • If you hate running dry, stop pretending the A1-S is always “meta.”
  • If your team is broke and you need full utility, the A1-S keeps the buy alive.

The real mistake isn’t picking the wrong M4. It’s picking one out of habit and never thinking about what the round actually needs. Are you anchoring B on Inferno with a kit and a smoke, or are you taking contact after contact on Overpass long? That answer should decide your rifle, not some tired default from 2021.

So next time you’re on the buy menu with $3,000 and a full team waiting, ask yourself one thing: do you want the rifle that’s cleaner, or the one that lets you keep shooting when the round turns into a war?